Last Updated on November 4, 2019 by Admin
Abstract
As part 2 of the series How to install WordPress in Google Cloud.
This is tutorial to remove Bitnami Banner on the bottom right side corner of every page in the WordPress blog on Google Cloud.
Here we will show a video to visually help you To get started, and step by step written instruction with commands to follow along. Please take advantage of both. (Video Soon)
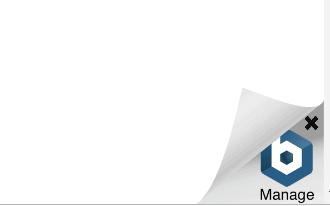
Start Here…
1. Go and Access your WordPress VM instance in Google Cloud
Go to cloud.google.com
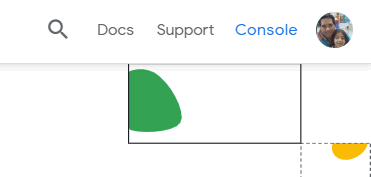
Go to Console
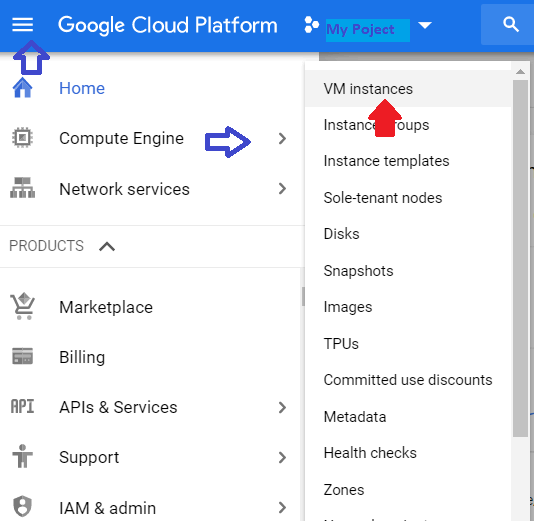
Go to your Google Cloud homepage and click the hamburger menu in the upper left-hand corner.
Select Compute Engine >> VM instances to access your WordPress installation.

In the SSH window, enter the command below to disable the Bitnami corner banner.
2. Enter command to disable banner on SSL Shell
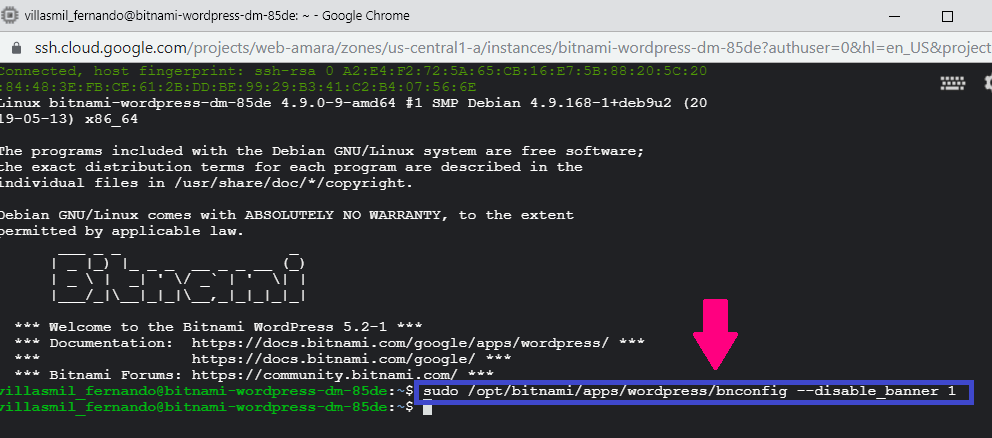
In the SSH window, enter the command below to disable the Bitnami corner banner.
Copy
3. Restart Apache Server.
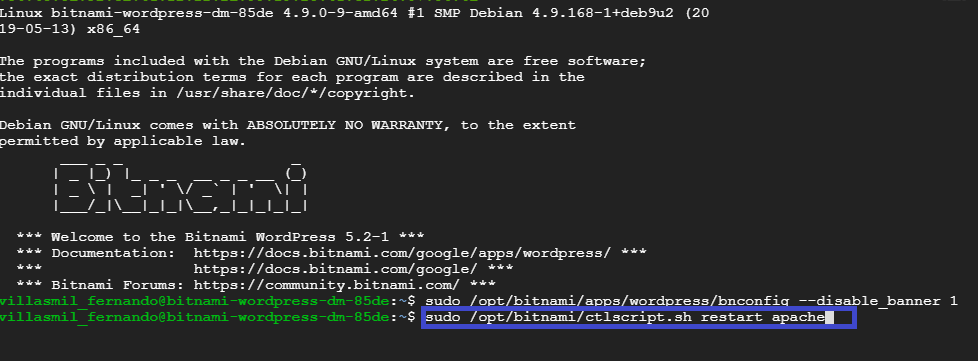
Enter the command below to restart Apache. Restarting Apache after making changes is generally considered a good practice.
Copy to Clipboard
This Post is available in (Disponible en) :
 Español


Leave A Comment